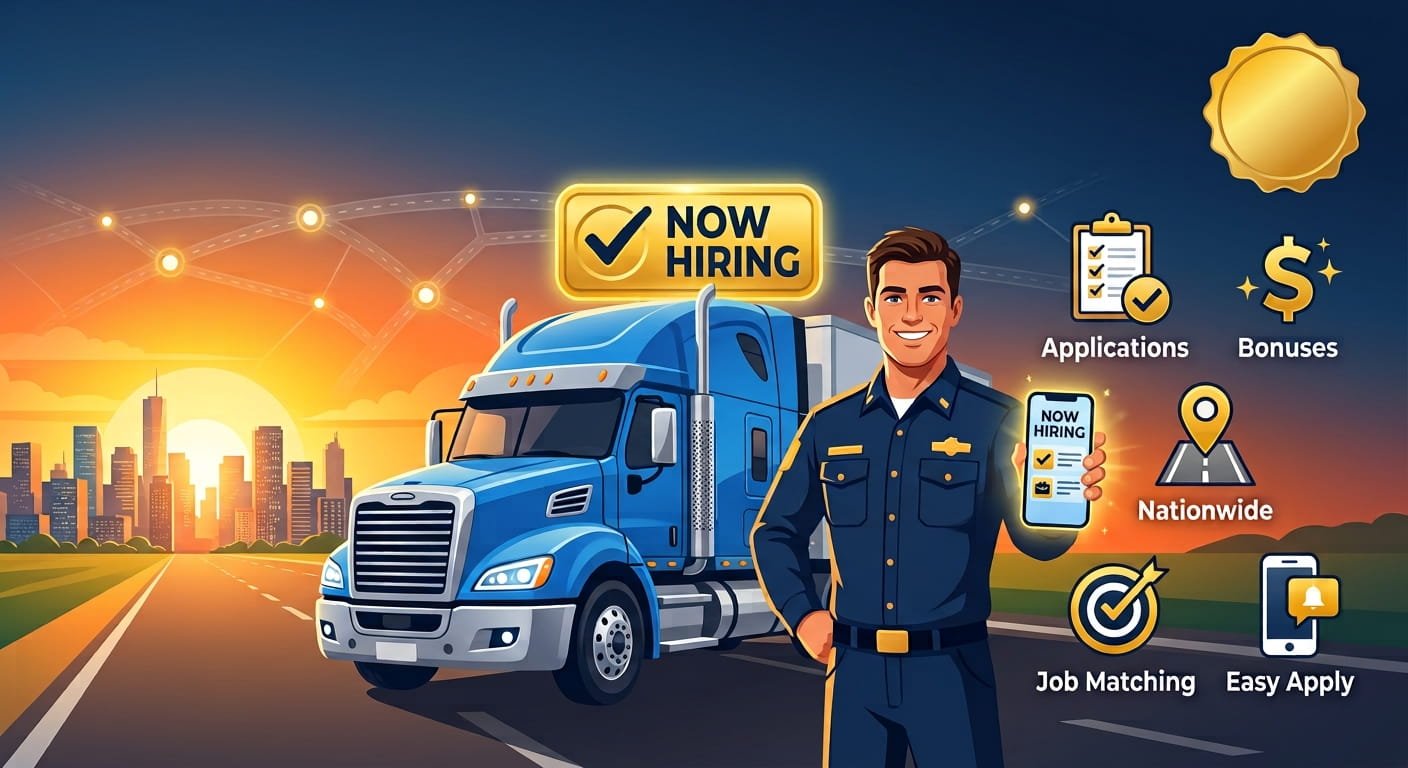
Quick Answer Looking for trucking companies hiring in 2026? Here’s what you need to know: The market is competitive. Carriers are actively recruiting as freight demand improves and the driver pool tightens. Companies are bringing back sign-on bonuses and increasing pay to attract qualified drivers. Top companies hiring now include: The best opportunity for you depends on your experience, whether you want local or OTR, and what type of freight you want to haul. Read on for a detailed breakdown of trucking companies hiring now and how to get hired. Introduction: The trucking industry is experiencing a pivotal moment in 2026. Competition for drivers has rebounded sharply as freight market indicators improve, driving up hiring costs and prompting the return of sign-on bonuses. At the same time, a record 58.1% of drivers are actively looking for a new truck driving job, up from 46.8% during the same period in 2025, according to the National Transportation Institute. Whether you’re a seasoned driver seeking better pay and home time or a newly-minted CDL holder looking for your first opportunity, 2026 offers unprecedented options. This guide cuts through the noise to deliver a data-driven look at trucking companies hiring right now, what they’re looking for, and how to land the best position for your career goals. Why This Guide Is Different Most job listings show only a pay range and basic requirements. This guide is built on: The 2026 Trucking Hiring Landscape: What You Need to Know Before diving into specific companies, here’s what’s shaping the hiring market right now: Competition for Drivers Is Intensifying The driver recruiting and retention data for 2026 shows that competition for drivers has rebounded as freight market indicators improved, driving up hiring costs and prompting the return of sign-on bonuses. “The competition for drivers is just going to continue to intensify as the year goes on,” industry experts note. Drivers Are Looking – But Not Moving While 58.1% of drivers are looking for a new job, many are staying put because they don’t see enough incentive to change companies. Fleets that clearly communicate their value proposition and operational strengths are going to be in a stronger position as competition for drivers increases. What Drivers Really Want Beyond pay, drivers are looking for: How Trucking Companies Are Ranked for Hiring Category Weight What It Measures Hiring Demand 30% Number of open positions, frequency of hiring, urgency Requirements 25% Experience needed, CDL type, endorsements, age Application Process 20% Ease of applying, hiring events, response time Sign-On Bonuses & Incentives 15% Sign-on bonuses, referral programs, transition pay Benefits & Perks 10% Health insurance, 401(k), paid time off, training Trucking Companies Hiring in 2026 1. Barr-Nunn Transportation: Most Urgent Hiring 🏆 Barr-Nunn Transportation is in urgent hiring mode in 2026, and they’re making it worth your while to jump on board. They’re looking for experienced solo drivers for OTR and regional routes especially in Pennsylvania, Ohio, and Illinois. What’s catching everyone’s attention is their limited-time transition bonus of up to $4,625 on your first check for drivers hired between July 6 and July 31, 2026. That’s cash in your pocket before you even finish your first week. Plus, they pay $300 just for orientation. If you’ve got at least 8 months of Class A experience and you’re tired of waiting around for decent pay, Barr-Nunn is moving fast. Application Process: Apply online through their career page or job boards like ZipRecruiter and Indeed. Barr-Nunn is removing the interviews tab from Company Pages on August 10, 2026. Requirements: 8 months of Class A CDL experience required. ✅ Pros ❌ Cons ✅ Urgent hiring quick application and response ❌ Requires 8+ months experience not for new drivers ✅ $2,625–$4,625 transition bonus on first check ❌ Limited hiring locations (PA, OH, IL) ✅ $300 orientation pay ❌ Smaller fleet means fewer open positions ✅ Limited-time offer urgency to apply by July 31 ❌ Not suitable for brand-new CDL holders ✅ Direct application through career page ❌ Some applicants report dispatcher issues ✅ Recruiters actively reaching out to candidates ❌ Limited information on benefits during application Hiring Locations: Pennsylvania, Massachusetts, and other states. Key Perk: $2,625–$4,625 first-check transition bonus (limited-time offer). 💡Best For: Experienced drivers seeking top pay with a quick hiring process and substantial transition bonuses. 2. Transco Lines: Best Hiring Incentives 💰 Transco Lines is hiring big in 2026 especially if you’re a team driver. They’re offering a massive $25,000 sign-on bonus for teams, which is hard to ignore. Solo drivers aren’t left out either you can earn up to $90,000 a year, and if you’ve got your Hazmat endorsement, that jumps to $96,000. They’re looking for drivers with at least 6 months of OTR experience, and they have positions open across the country. The application process is quick, and they’re actively recruiting for dry van and Hazmat positions. Application Process: Applications are accepted on an ongoing basis. Apply online through their website or job boards. ✅ Pros ❌ Cons ✅ $25,000 sign-on bonus for teams huge incentive ❌ Requires 6 months OTR experience ✅ Quick application process through job boards ❌ Hazmat endorsement required for top pay ✅ Hiring across the country ❌ Limited terminal locations ✅ Solo drivers earn up to $96,000/year ❌ Few driver reviews available ✅ Recruiters actively seeking team drivers ❌ Limited benefits information available ✅ Dry van and Hazmat positions available ❌ Home time varies by route Requirements: Valid CDL A license, minimum 6 months of verifiable OTR tractor-trailer experience. Hazmat and Doubles endorsements required for select positions. Key Perk: $25,000 sign-on bonuses for team drivers. 💡Best For: Team drivers seeking substantial sign-on bonuses and solo drivers looking for strong dry van pay. 3. NFI Industries: Best Hiring Events 💰 NFI is actively hiring CDL-A drivers in 2026, and they’re making the process easier than ever with open interview events. They’re looking for dedicated regional and local drivers, and they’re offering $5,000 sign-on bonuses to sweeten the deal. Whether you’re fresh out of CDL school or
Hiring CDL A Drivers Now – Call Recruiter Directly